Masking - Photo Selection Tecnique
According to wikipedia, in its simplest definition, Masking can describe either the techniques used to protect a desired area from change or to conceal an area from conscious attention
Quick Masking Part 1
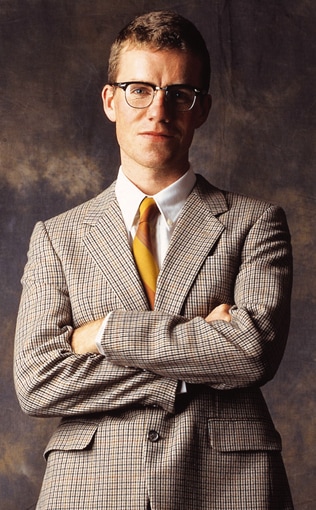
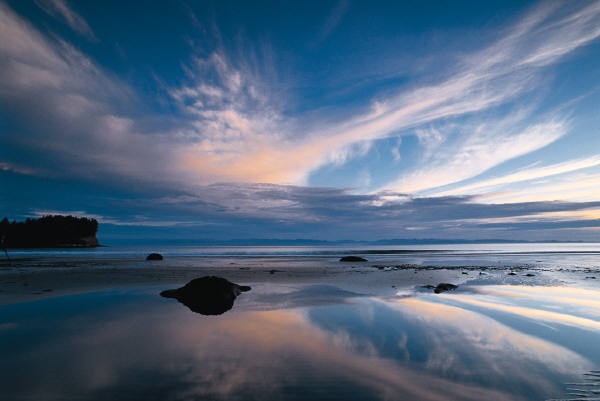
- Download the following files of the man and the background and open in photoshop. Be sure to save the man as man.psd
- With the man file open, enter quick mask mode by pressing the button at the bottom of the toolbar (in this case, 2nd from the bottom) that looks like a rectangle with a circle cut out

|
|
| ||||||||

|
- Select a colour for the mask that is not in the artwork. For this photo, I might choose red or blue
- Make sure the colours on the toolbar show black and white and that you are in Quick Mask mode. Otherwise you are painting all over the image
- Using a solid brush (hardness 100%), carefully select or paint over the man
- It can be helpful to zoom in using Command + or Zoom Out using Command -, and using the space bar to drag around to different parts of the image that you are working on
- Use the X key to switch between black and white to either add or remove from your selection
- Once you have completely painted over the man with the mask, click the Quick Mask button again
- You will return to the main window, with a marquee of marching ants around your selection
- Press the mask button at the bottom of the layers palette
- You should end up with a mask that has cut out the man from the background.
- If you did the cookie cut effect and you have the background, simply inverse the mask by going Command I
- Now to see the effect, drag the man onto the background and resize as necessary. Alternatively, you could drag the background onto the man image and resize accordingly.
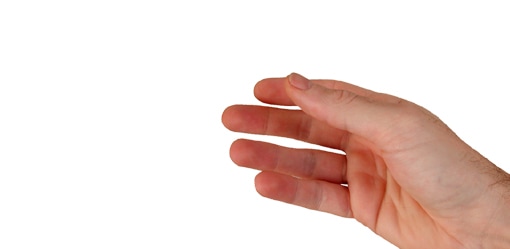
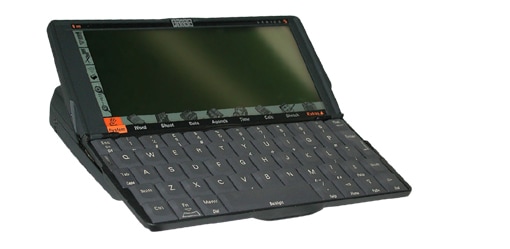
Example 2: The computer
- Do not download the images of the keyboard and the hand separately
- Download the actual psd file
|
|
| ||
Quick Mask Part 2- Transparency
Not only can we mask using black and white, we can mask in shades of gray.
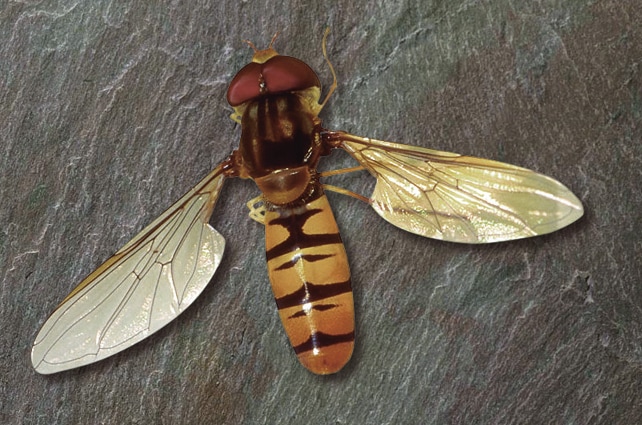
For this example, download the following image, save as bug.psd, enter quick mask mode (button on toolbar) and do the following:
For this example, download the following image, save as bug.psd, enter quick mask mode (button on toolbar) and do the following:
- use black to mask the actual body of the bug
- use a medium shade of gray to mask the left wing
- use a lighter shade of gray to mask the right wing
- to ensure the wings don't lose all their detail, use black and a thin brush to carefully go over some of the veins in the wing.
|
| ||||
- Once you have finished all the painting of the mask, exit quick mask mode (by pressing the Quick Mask button again).
- Turn the resulting selection into a mask by pressing the mask button on the bottom of the layers palette
- If the background is selected, be sure to inverse the mask by going Command I on the keyboard
- Drag the resulting mask on to the background image and see the finished effect.