Photo Focus
In Photography, the depth of field refers to the area of sharp focus in a photograph. You can create photographs which are fully in focus throughout (large depth of field - small aperture) or which have a small area sharply focused but the rest is blurred (small depth of field - large aperture) or photographs which may have a mix of half and half (medium depth of field).
Adjusting the aperture on your camera is one factor which allows you to change the depth of field. However, if your camera is fully automatic it can be difficult to achieve depth of field effects or if you need to change the depth of field on an existing photograph, that’s where Photoshop comes in.
Adjusting the aperture on your camera is one factor which allows you to change the depth of field. However, if your camera is fully automatic it can be difficult to achieve depth of field effects or if you need to change the depth of field on an existing photograph, that’s where Photoshop comes in.
Examples - Changing Focus
Basic Technique
- Open the photo that you want to apply the effect to.
- Duplicate the layer by pressing Ctrl + J (windows) or Cmd + J (mac) in the Layers palette.
- Choose Filter > Blur > Gaussian Blur and when the dialog box opens increase the Radius to about 10 pixels so that the entire image is blurred.
Experiment with different blur effects. - You will now have one layer completely focused, the other layer completely blurry.
- Use a Layer Mask to reveal part of the untouched layer at the bottom of the Layer stack.
- On the Layer palette, click on the Add Layer Mask icon.
- When the Layer Mask thumbnail is added, click on it to ensure the Layer Mask is selected rather than the whole layer.
- In the toolbar, select the Brush Tool and a soft brush, set the foreground color to black
- Start painting over the area you want to keep sharp Sharpness from the original image.
- Keep painting until the part of the photo is fully sharp but the rest of it is left blurred.
- On the Layer palette, click on the Add Layer Mask icon.
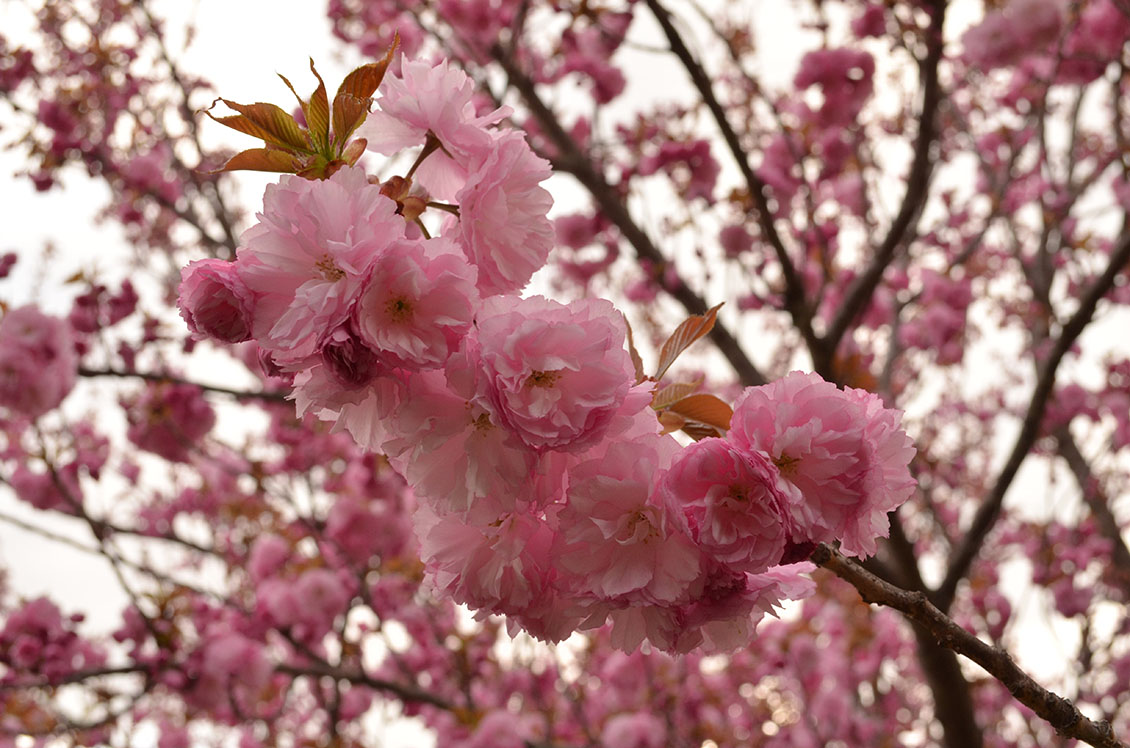
Cherry Blossom Example - Great Example of desaturating background slightly
|
|
Technique 2: Newer version of Photoshop Only
Learn how to make selections based on depth of field using Focus Mask - Good video to take a look at!
https://helpx.adobe.com/photoshop/how-to/focus-mask-selections.html
Photoshop lets you easily select the areas/pixels of an image that are in focus.
Tips: Do the following:
https://helpx.adobe.com/photoshop/how-to/focus-mask-selections.html
Photoshop lets you easily select the areas/pixels of an image that are in focus.
Tips: Do the following:
- With the image open in Photoshop, choose Select > Focus Area. In the Focus Area dialog box, you can make changes to the default selection.
- Adjust the In-Focus Range parameter to broaden or narrow down the selection. If you move the slider to 0, the entire image gets selected. However, if you move the slider to the extreme right, only the parts of the image in clearest focus remain selected.
- Use the brush controls to manually add () or remove () areas from the selection
- If the selection area has noise, control it by adjusting the Advanced > Image Noise Level slider control.
- You can leave the Auto option selected for In-Focus Range and Image Noise Level. Photoshop automatically selects appropriate values for these parameters.
- At any point, while making changes to the Focus Area selection, you can toggle the Preview option to see the original image.
- If necessary, select Soften Edge to feather the edges of the selection.
- If you want to fine-tune the selection edges, click Refine Edge.
- Once you've adjusted the selection to your satisfaction, determine whether the refined selection should become a selection or mask on the current layer, or produce a new layer or document. You can choose one of the following output options:
- Selection (default)
- Layer Mask
- New Layer
- New Layer With Layer Mask
- New Document
- New Document With Layer Mask
- More vids to look at:
- https://www.youtube.com/watch?v=mL5D11HWh9w
- https://www.youtube.com/watch?v=_tQu4OMlYso
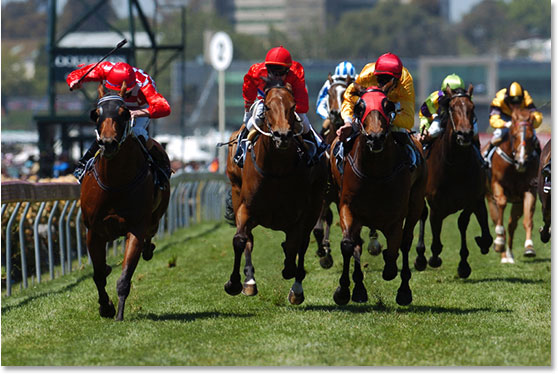
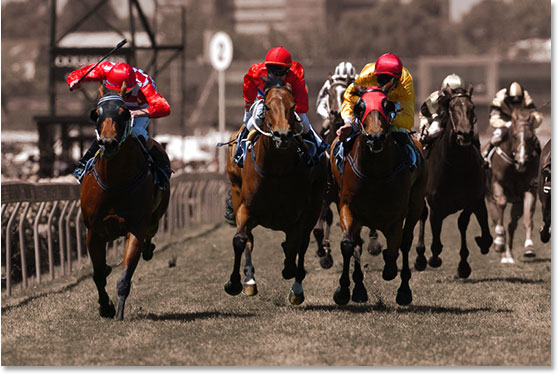
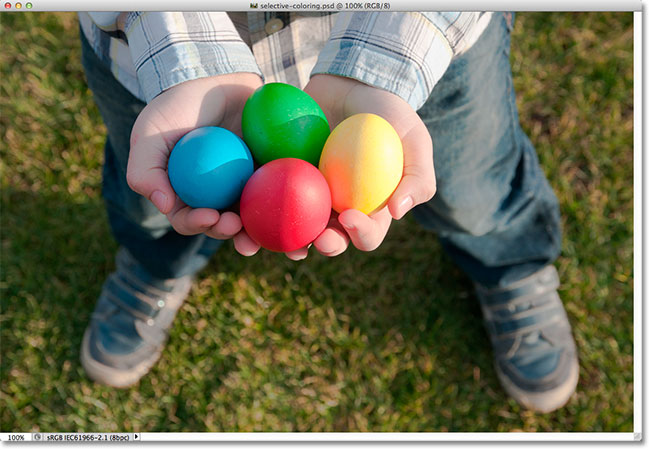
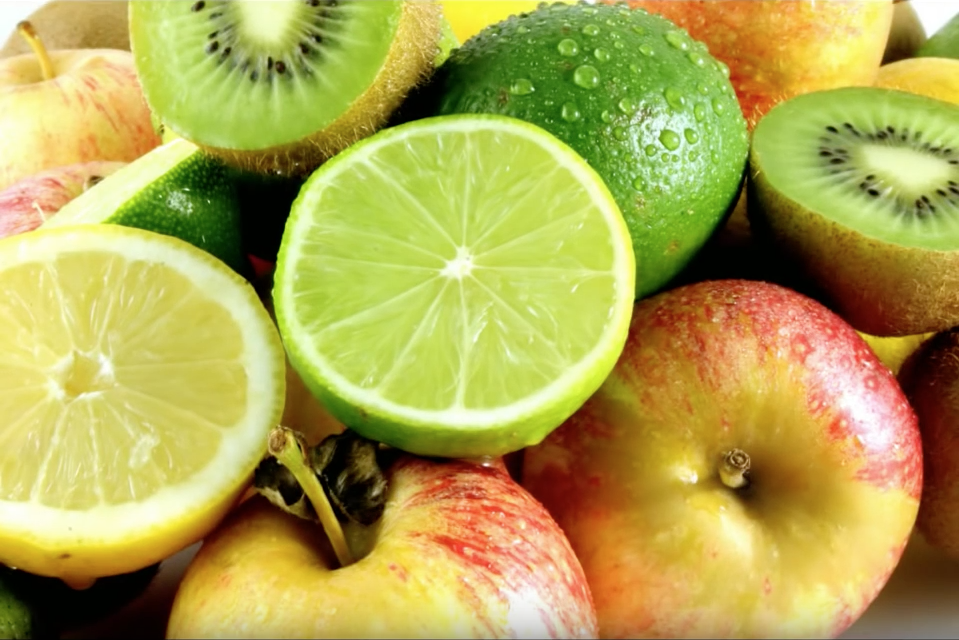
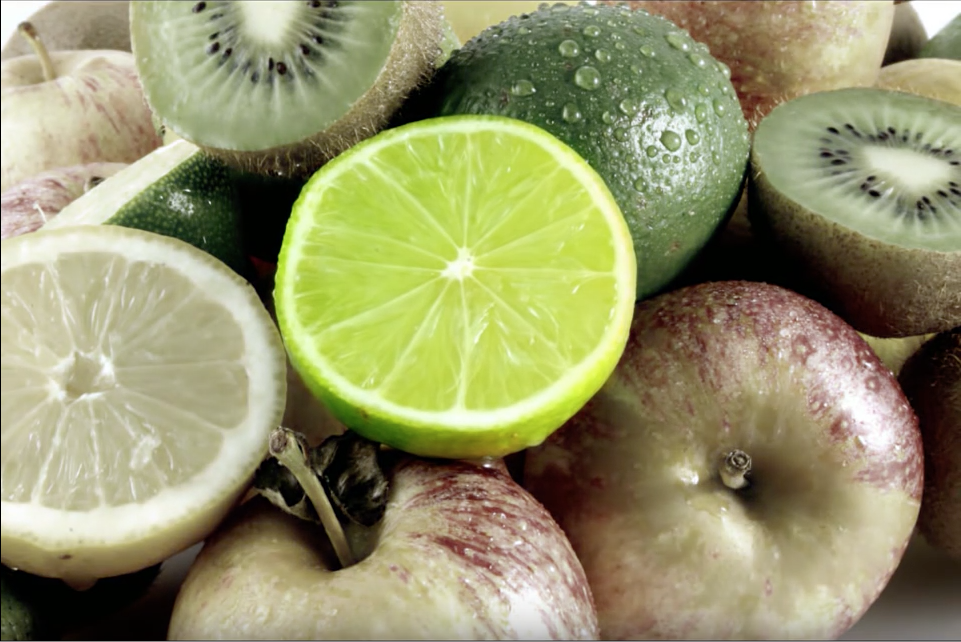
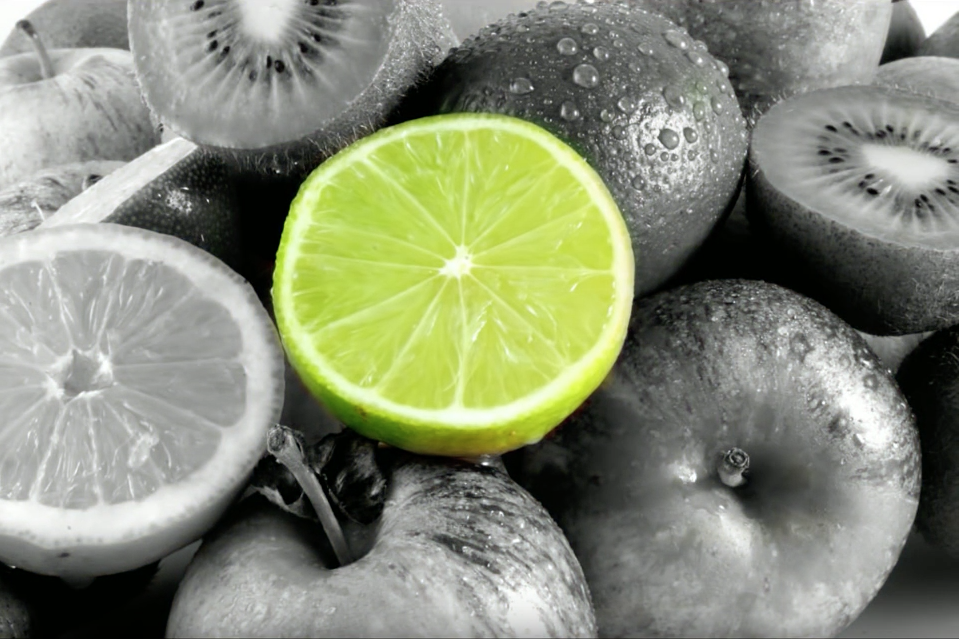
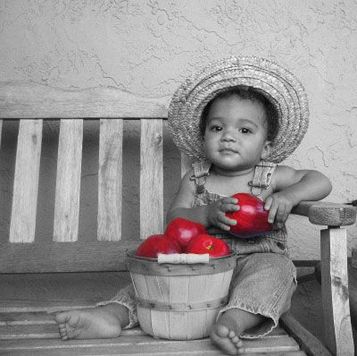
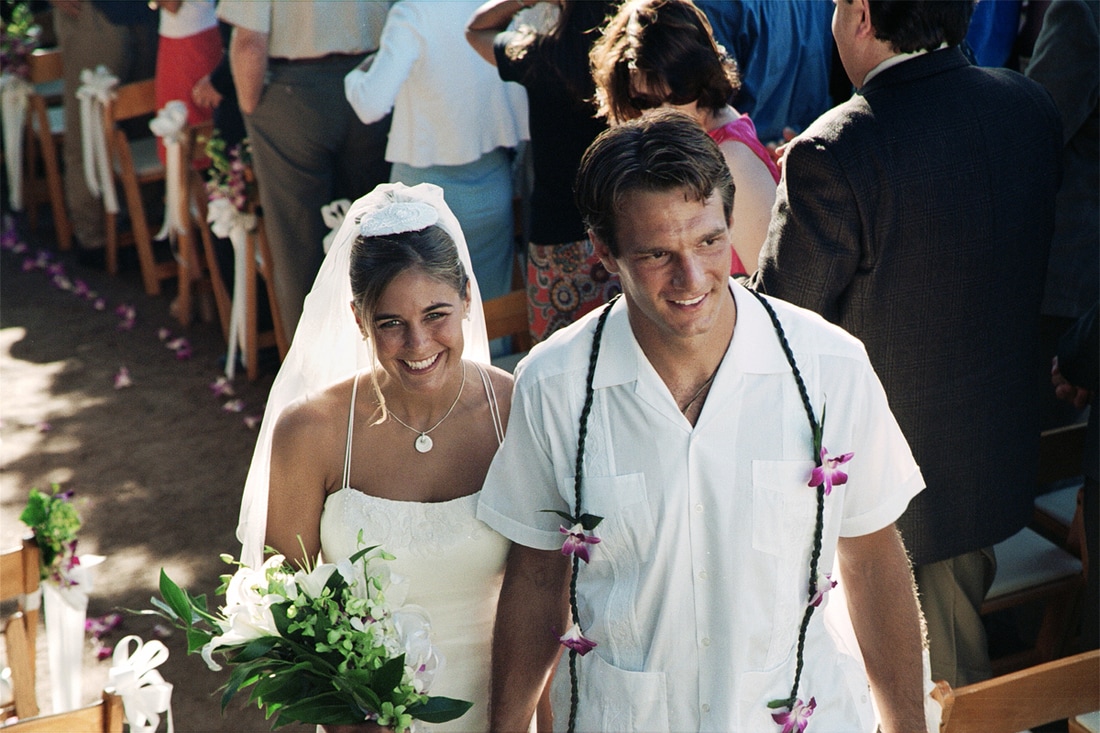
Color Focus - Selective Colouring
An effect that is very popular with sports and wedding photography, as well as in advertising.
Simply put, we're going to learn how to bring focus and attention to part of an image by making the rest of the image black and white while leaving the main subject (or what we want the viewer to focus on) in full colour.
Simply put, we're going to learn how to bring focus and attention to part of an image by making the rest of the image black and white while leaving the main subject (or what we want the viewer to focus on) in full colour.
- Could desaturate or go completely black and white ... or
- Hue/Saturation adjustment layer allows us to colourize the image rather than leaving it black and white, and even enabling us to bring some of the photo's original color back in, all with very little effort
|
|
|

|
|
|
|
|
|
- Create a duplicate layer to begin with - Command J
- Select your main subject using the selection tool of your choice (Lasso Tool, Quick Selection Tool, Pen Tool, etc)
- Invert the selection - what we actually need is for everything except the main subject to be selected, which means we need to invert our selection.
- Select > Inverse.
- Or, for a faster way to invert a selection, just press Shift+Ctrl+I (Win) / Shift+Command+I(Mac) on your keyboard:
You may have to look closely to notice what happened since the initial selection outline will still be around your subject, but you should now see a second selection outline around the edges of your image. Everything in the image except the main subject is now selected.
- Select > Inverse.
- Add A Black & White Adjustment Layer
- Click on the New Adjustment Layer icon at the bottom of the Layers panel (circle where half of it is shaded)
- Choose Black &White from the list of adjustment layers that appears
At this point, you can either accept the Black &White adjustment layer's default conversion, or you can fine-tune the results and create your own custom black and white version of the image by dragging the various colour sliders left or right to lighten or darken different areas based on their original colours. For example, dragging the Reds slider towards the right will lighten any areas that were originally red (or had some amount of red in them). Dragging the Yellows slider to the left will darken any areas that originally had yellow in them, and so on.
- Click on the New Adjustment Layer icon at the bottom of the Layers panel (circle where half of it is shaded)
The photo is converted to black and white except for the main subject we selected back at the beginning which remains in full colour:
- As all of this was done with adjustment layers above the original image - our original full colour photo is still there, completely unharmed
- Our selection outline was used to define the layer mask for the adjustment layer - this means we can modify the area we masked using the painting on and off technique with black and white and various brushes.
As we can see in the mask's preview thumbnail, the mask is filled almost entirely with white except for the area directly above our main subject. White areas of the mask represent areas of the image being affected by the adjustment layer, while black areas are not being effected, which is why everything except for our main subject now appears in black and white. - If you don't want to go completely black and white, a good alternative is to use a Hue and Saturation Adjustment Layer rather than the Black & White Adjustment layer. Lowering the opacity of the adjustment layer or changing the blending mode can also create some pretty cool effects.
Good tutorials - examples to follow along with
http://www.photoshopessentials.com/photo-effects/color/
http://www.photoshopessentials.com/photo-effects/selective-coloring/
http://www.photoshopessentials.com/photo-effects/color/
http://www.photoshopessentials.com/photo-effects/selective-coloring/
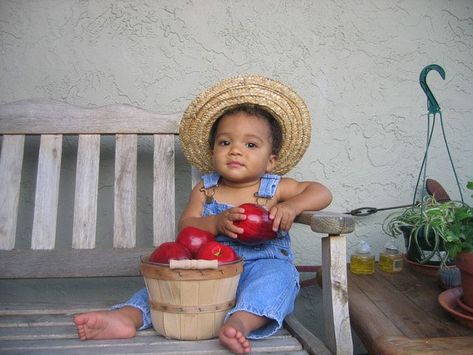
Examples - Color Focus
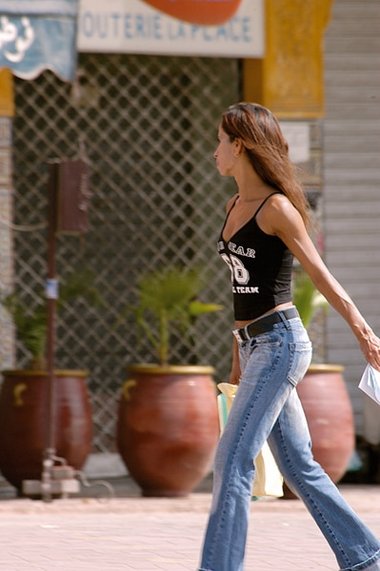
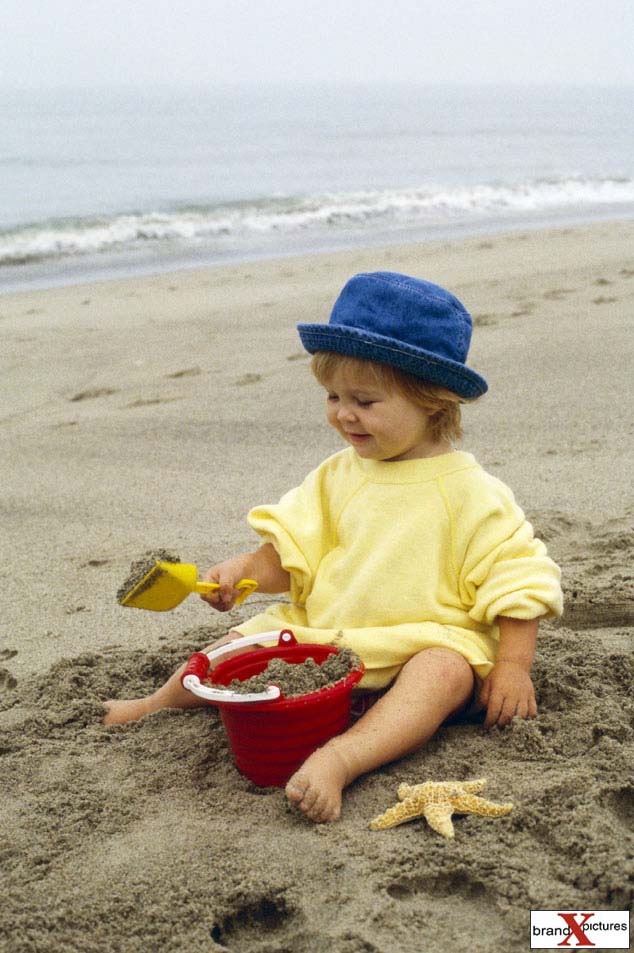
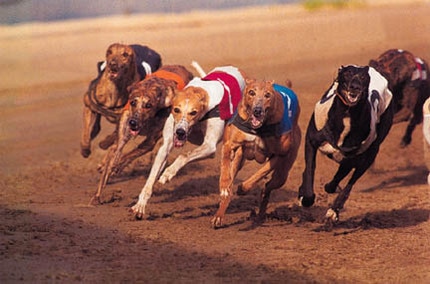
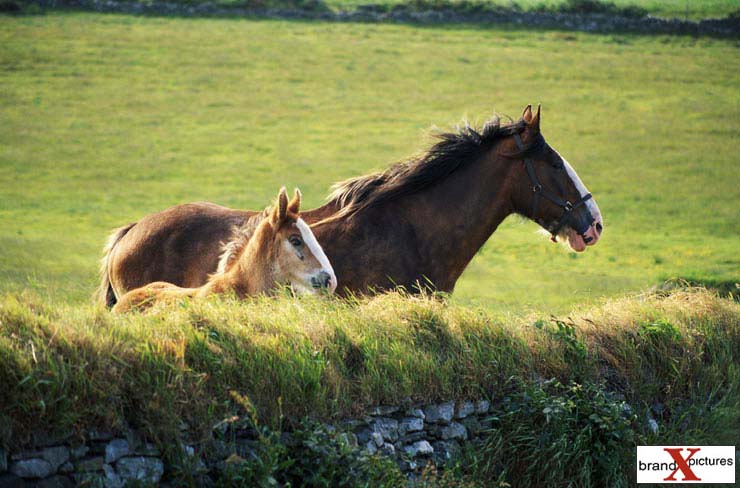
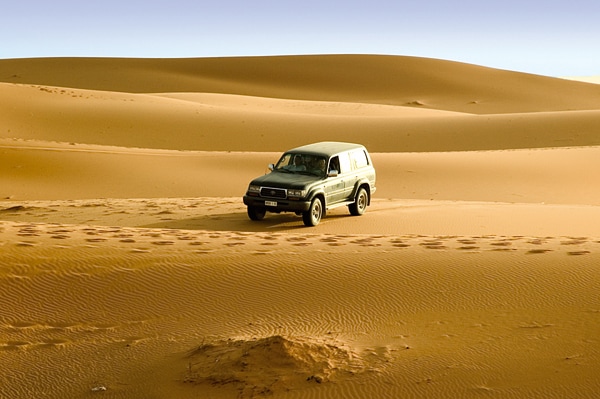
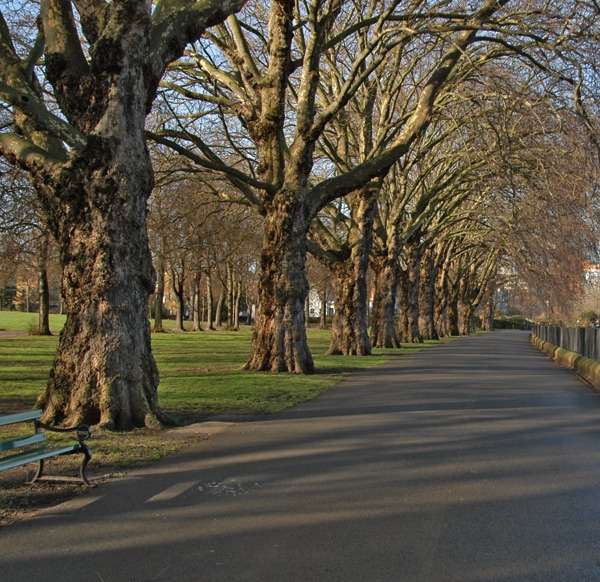
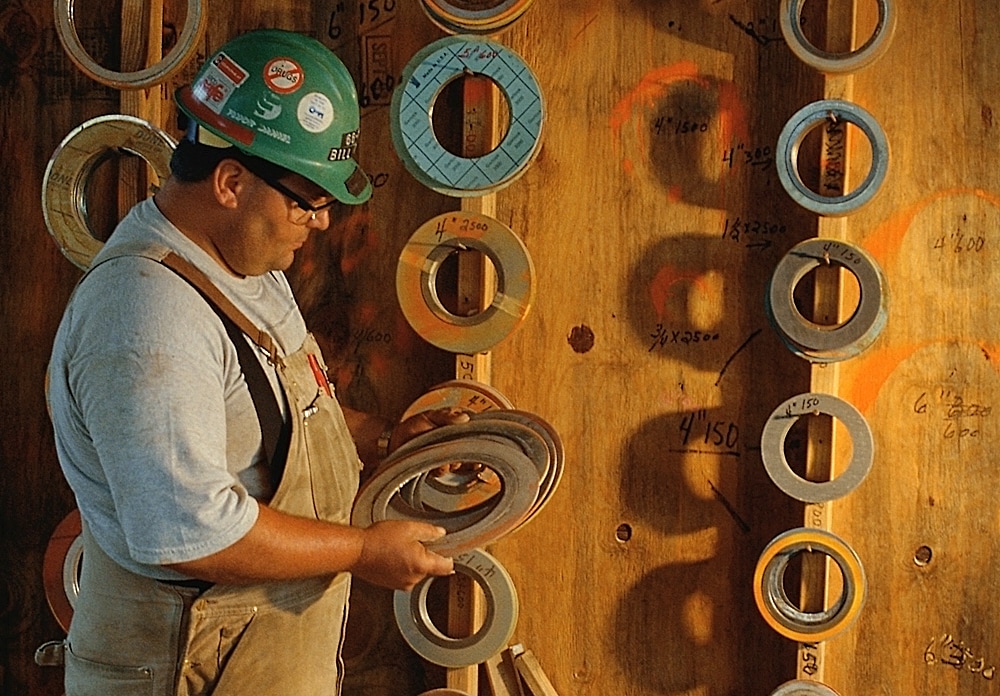
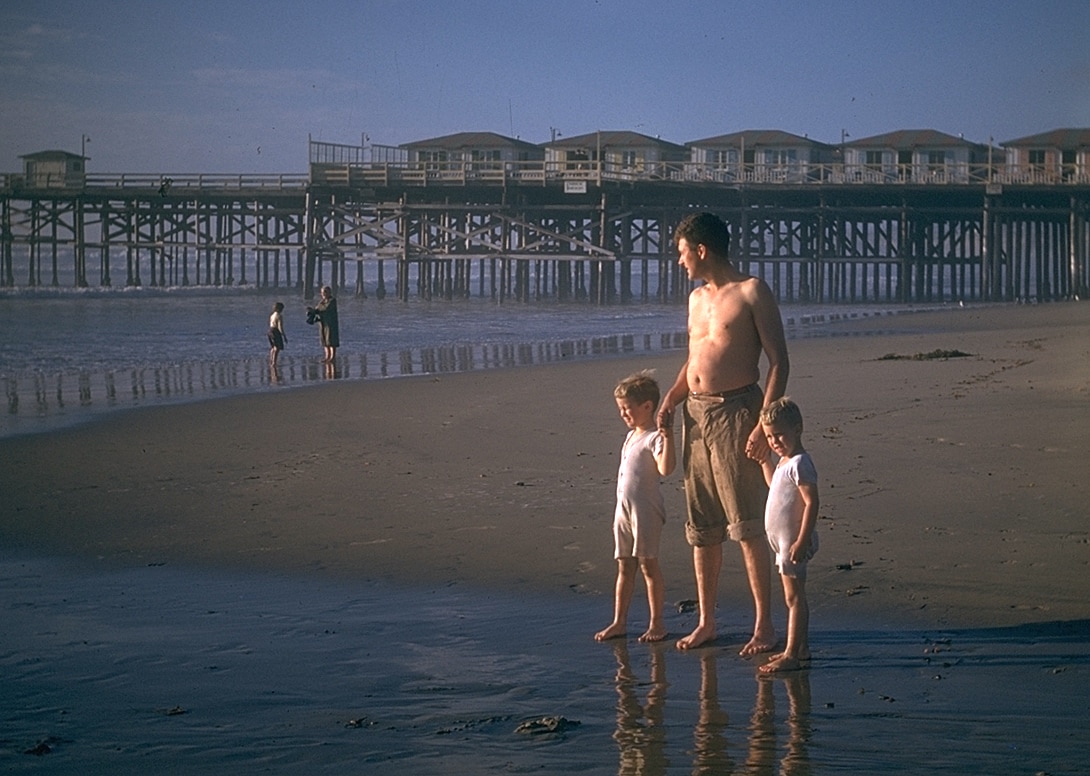
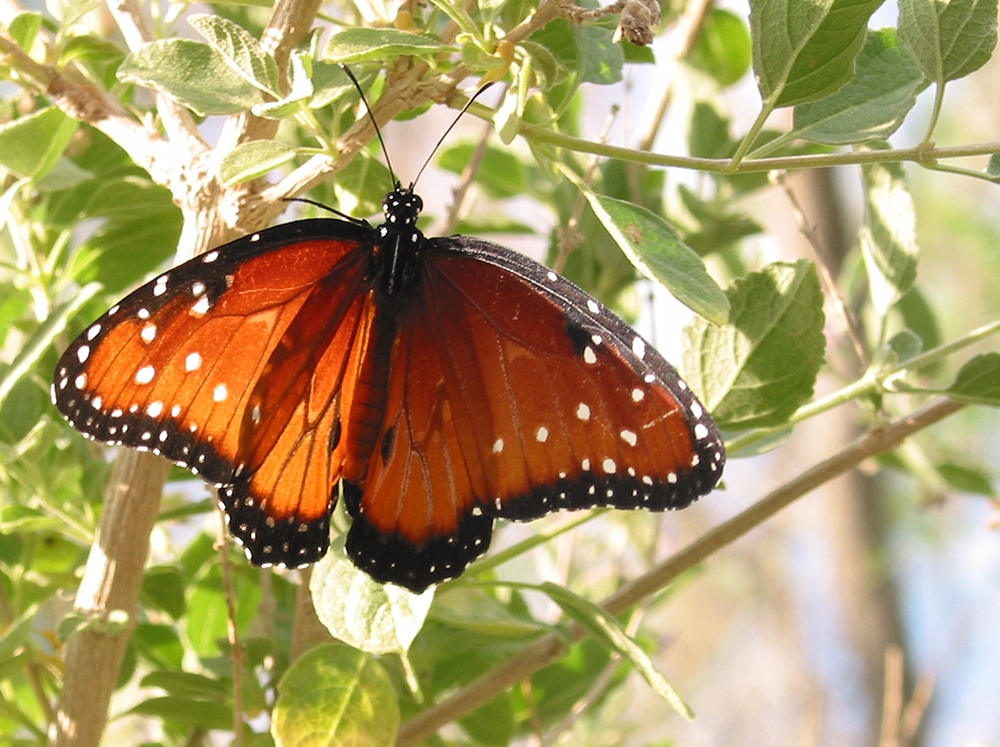
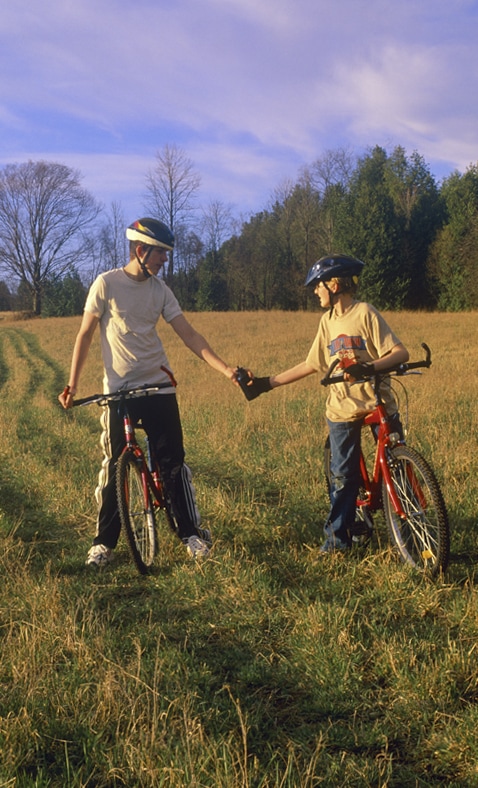
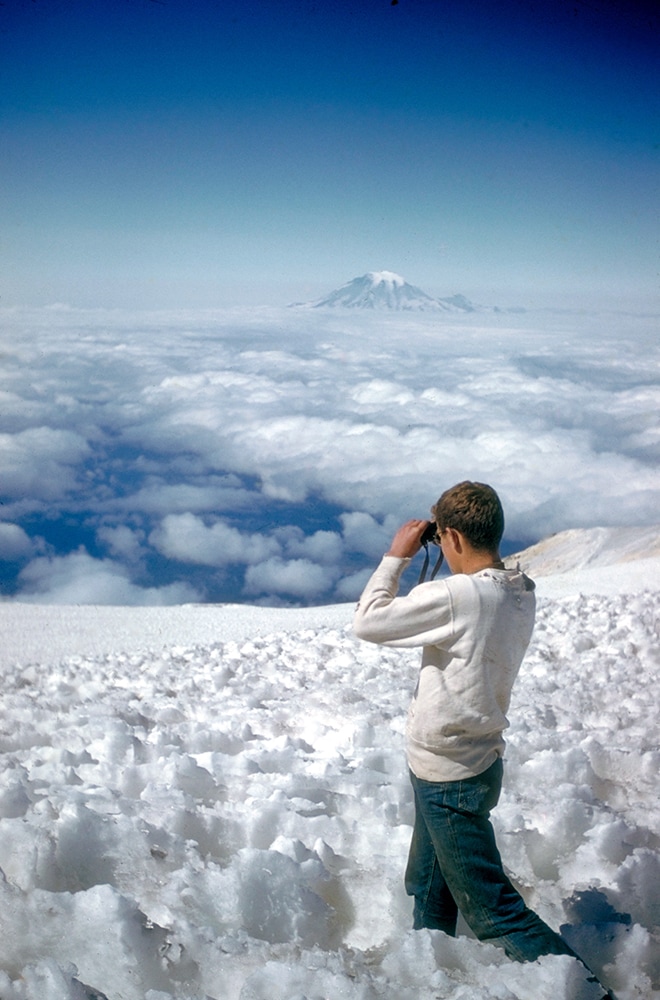
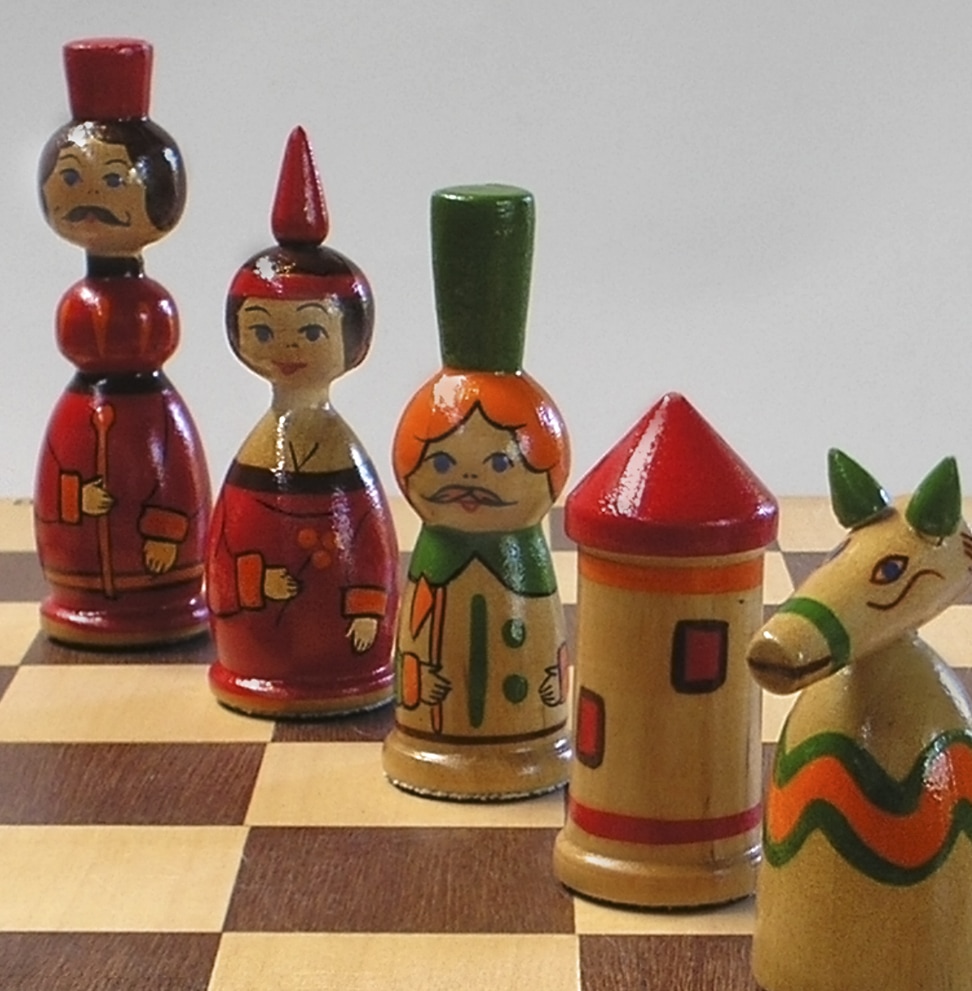
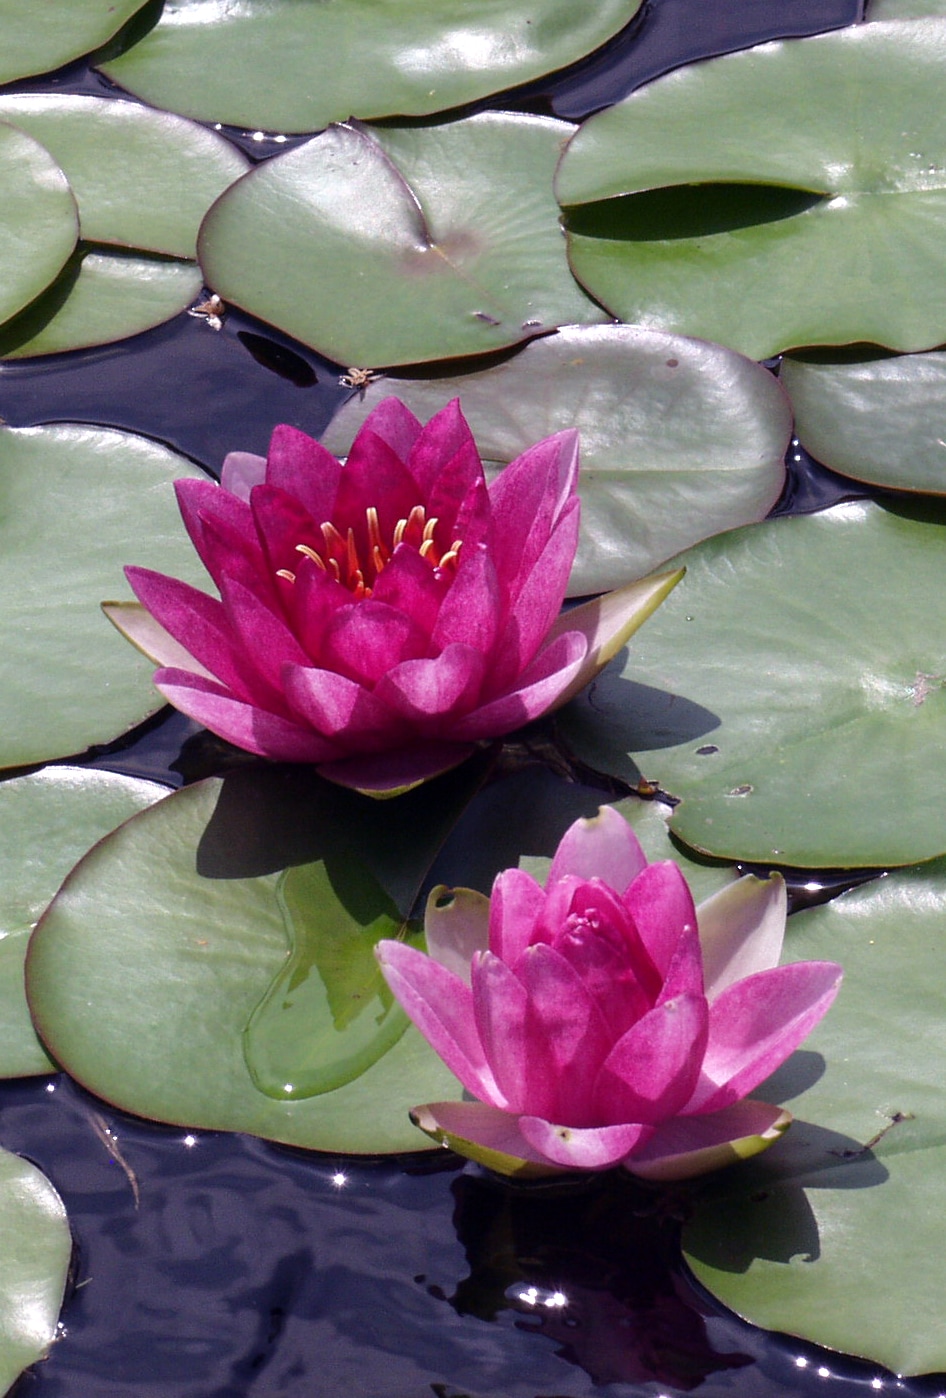
Photos to experiment with: (if you don't want to find your own)
|
|
|
|
|
|
|
|
|
|
|
|
|
|
|
|

|
|
|
https://www.youtube.com/watch?v=WGMDXOr4LmI
How Focus Works
Great article on how focus works can be found here. (Link)
Photography Technique - Focus Stacking
Focus stacking is a digital technique in which several images taken with different focus distances are combined into one image that is sharp from the foreground all the way through the background.
Although it can be applied to landscape photography, it is especially useful for macro photography because depth of field is very limited when subjects are extremely close.
With the camera firmly mounted on a tripod, take the first shot with the nearest part of the scene in focus. Then, without moving the camera, refocus just a little further into the scene and take the second shot before focusing further in again.
Repeat this until you have a shot with the focus on the furthest part of the scene.
Now all the shots can be combined to create one image that is sharp throughout. This can be done manually using any image editing software that supports layers - Photoshop Elements is fine.
But it can also be done automatically using software like Combine ZM, which is free to download and use, or using Photoshop's Photo Merge function.
https://www.youtube.com/watch?v=USi_ShbcM6o