Painting In Photoshop
Ms. McKay will do a demonstration on brushes and brush attributes. Then take time to explore.
Defining a picture or image as a brush
|
|
Steps:
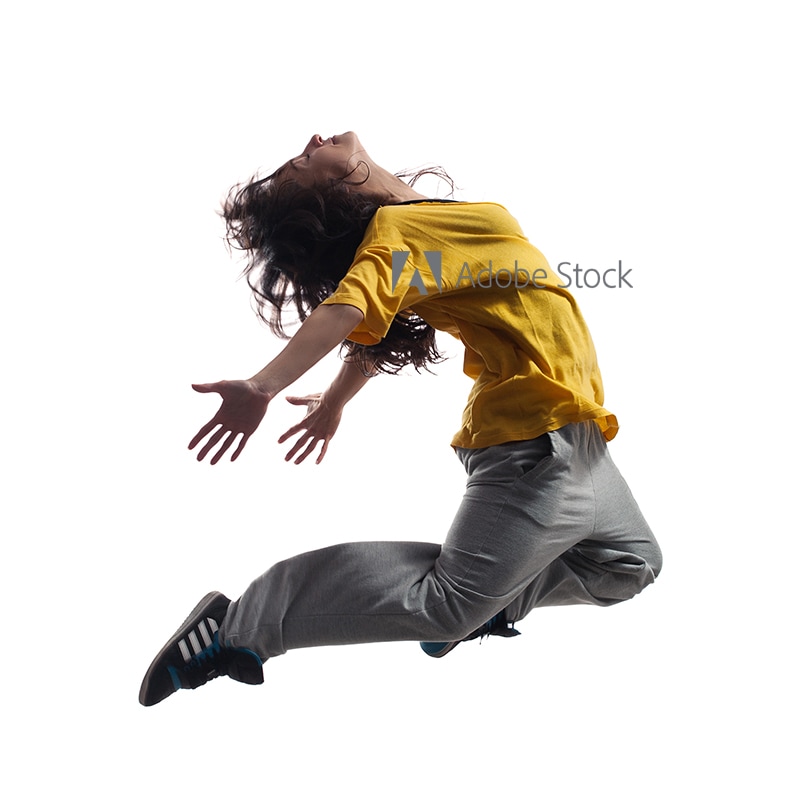
- To do this project, it is best to have a subject isolated on a white background. If this is not the case, then you will need to isolate the subject and place it on a white background.
- Open photo of our isolated dancer in Photoshop.
- Remove the colour by applying a gradient map to it
- Set foreground and background colours to black and white. (Click box on toolbar or press D on keyboard)
- Image > Adjustment > Gradient Map > OK
- Image will now be black and white gradient version - Creating the brush
- Edit > Define Brush Preset.
- Name the brush and press OK.
- Close the Image - Setting up the brush
- On tool palette, select the Brush tool (B) and make sure to select your newly created brush
- Open Brush Options (Window > Brush)
- At the top of the left side list.... select "Brush Tip Shape"
- Set size to approx. 400 - 500px and spacing to 150% - Under "Shape Dynamics", set
- Size Jitter 75%
- Angle Jitter 100% - Under "Transfer", set the "Opacity Jitter" to 50%
- Under "Colour Dynamics", set
- Hue Jitter to 100%
- Purity to 100% - If you want, you can save the brush and all its properties by saving it as a tool preset.
- Click first icon in the Options Bar
- Click on "Create New Tool Preset" icon.... looks like a blank page.
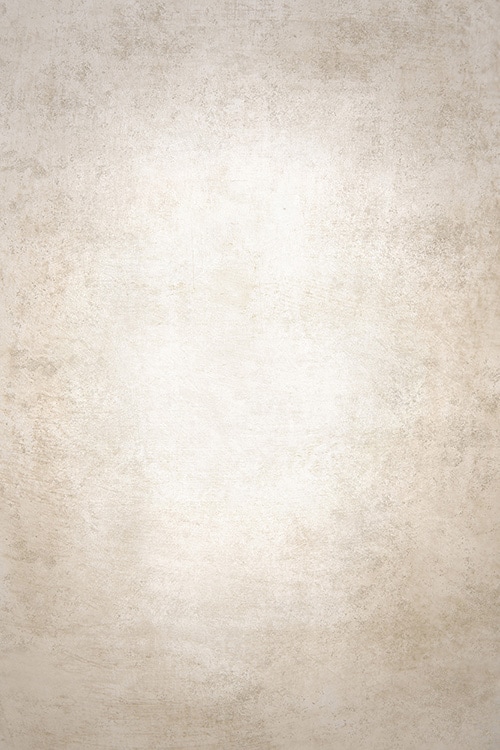
- Be sure to name it and click OK. - Open up parchment paper image and create a new blank layer above it.
- Set the foreground colour to a colour other than black or white. Remember, the colour you select does effect your results.
- Once you have the colour selected, start painting on the blank layer.
- Change the blending mode of the layer to "Multiply" so the grain of the paper shows through.