Blending Modes in Photoshop
As it is impossible to predict the results, working with blend modes is almost always an experimental process. You just keep experimenting with different modes and fill opacities until you get the results you’re looking for.
Opacity Slider
Opacity Slider
- The Opacity slider in the Layers Panel allows you to blend the active layer with the layers below by making the active layer translucent (see through), which in turn allow the layers below to show through.
|
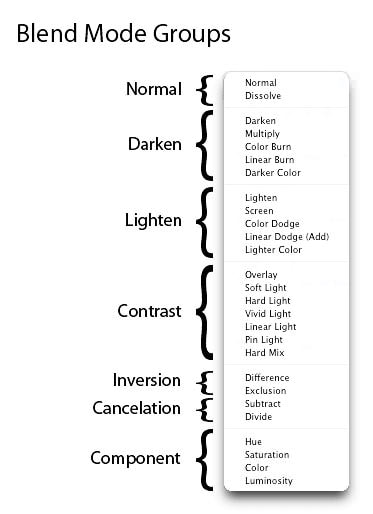
Blend Mode
|
|
Keyboard Shortcuts
- To shift or move through the different blending modes use:
(Make selection tool (the V) active. Press the V key to make sure you aren't on a painting tool)- "Shift" and the "+" combination to move down
- "Shift" and the "-" combination to move up
- Cool way of loading multiple images into Photoshop at the same time into a single file
- Files / Scripts / Load Files Into Stack - simply browse to collect your files and then click OK
- Files / Scripts / Load Files Into Stack - simply browse to collect your files and then click OK
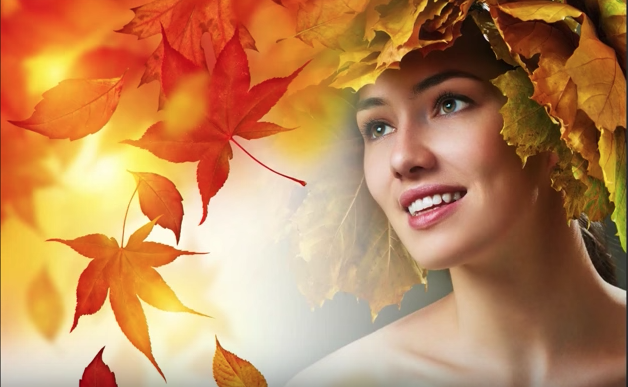
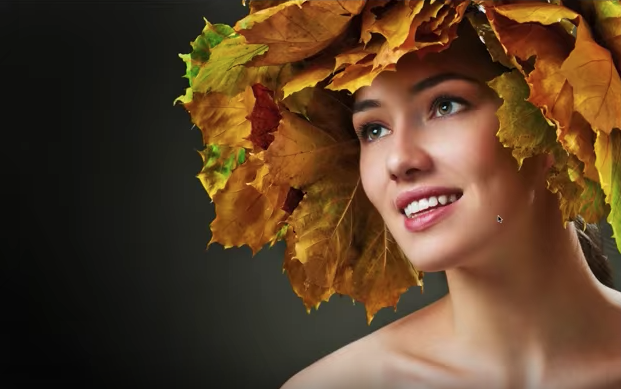
Part 1: Blending Color Layers
- Procedure to follow
- Open or create your Base Image / Photograph
- Above it, create a new layer for your color and fill it with one of the following options
- Solid Color (Grays, White, Black, Color)
- Gradient Colour
- Created using render filter - Clouds / Difference Clouds
- Experiment by playing with different blending modes and layer opacities (for some modes, you will get a different effect if you change fill opacity instead of / or in addition to the regular opacity)
Good Uses
- Changing overall color of sky or background
- Changing color of object in a photograph
- For example, imagine you are a store that has over 30 colours of an item like a car or a sweater
- You can simply use one photo of the product with the models and correct placement, then simply create blending layers to represent the various color possibilities of your product.
- For example, imagine you are a store that has over 30 colours of an item like a car or a sweater
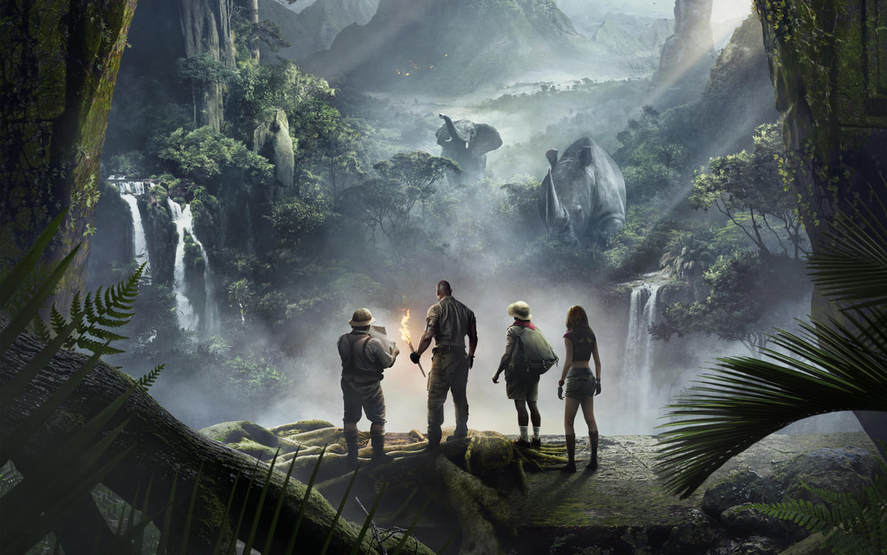
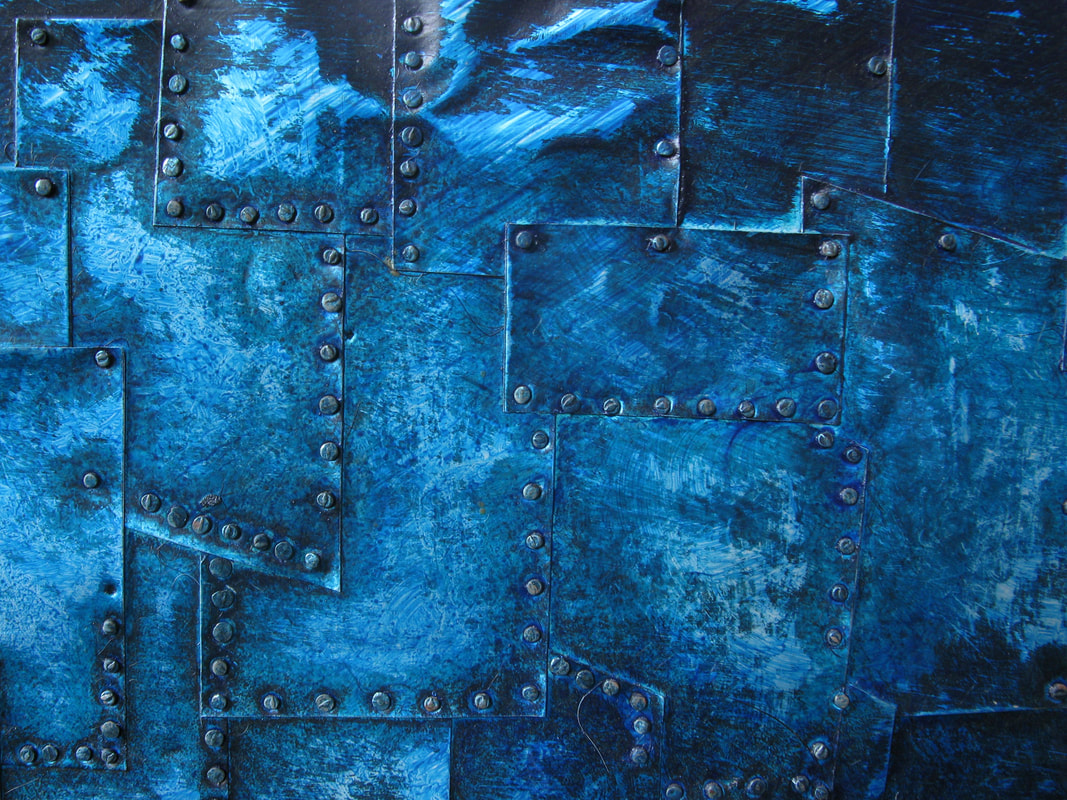
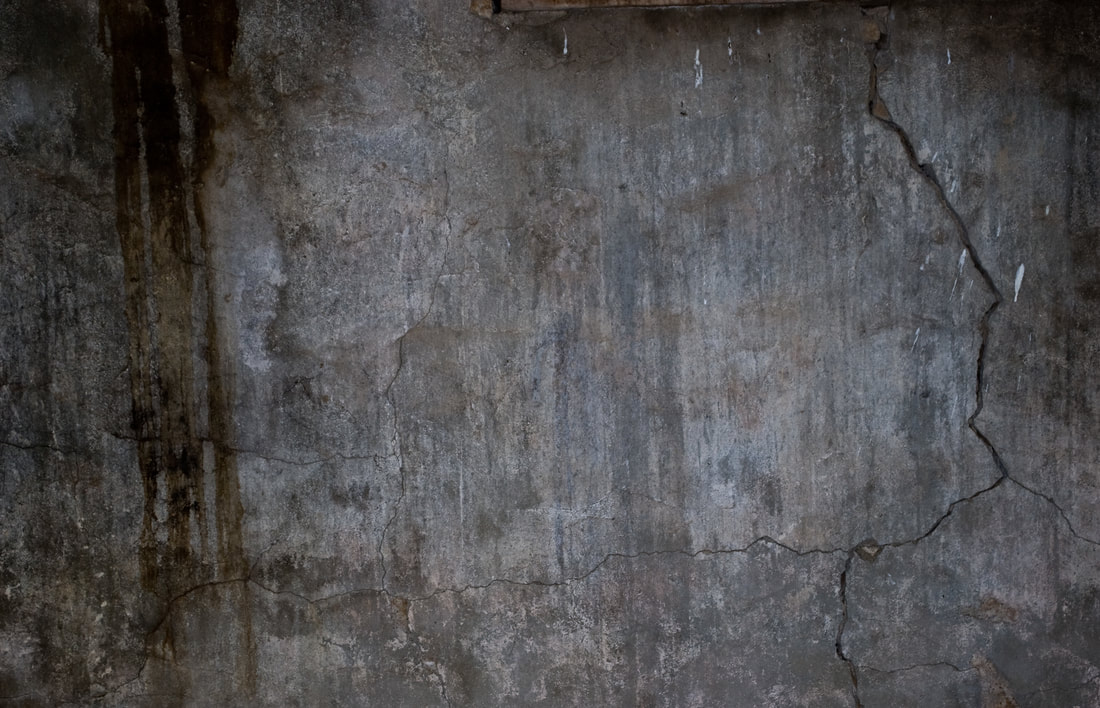
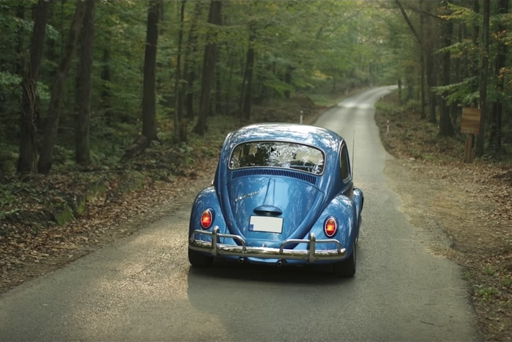
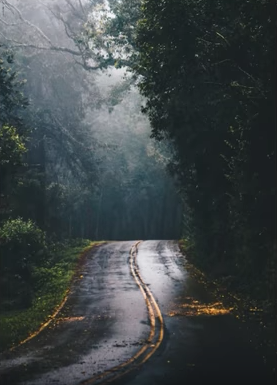
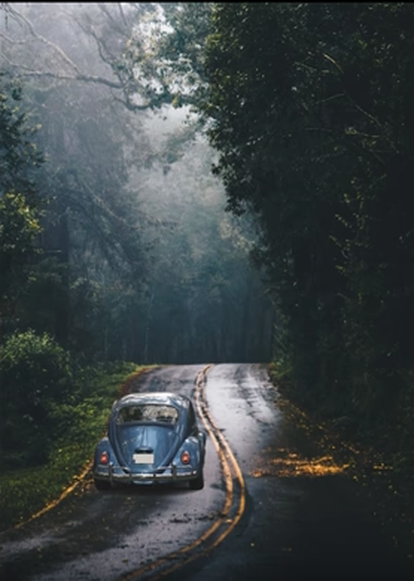
Part 2: Blending Images - Textures
- Adding a texture can be a great way to add a grunge, vintage, torn or tattered look to a photo, or to basically add a little extra dimension or kick to raise a photo to a new level.
- Remember to use a soft handed and delicate effect.
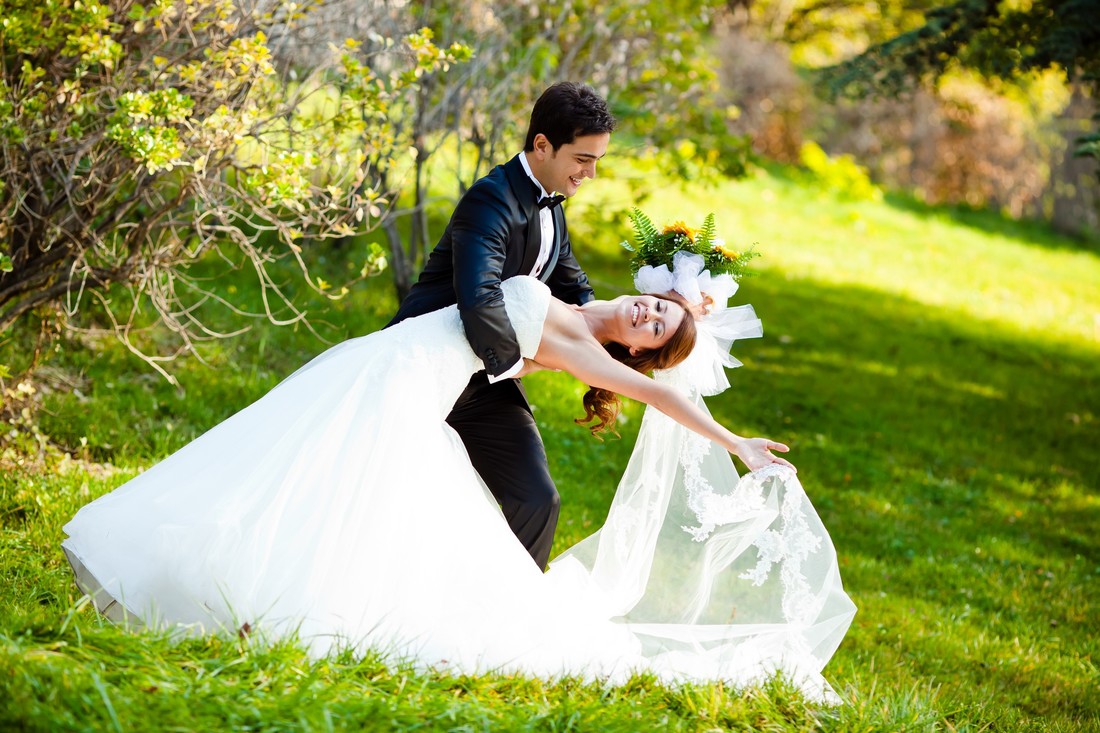
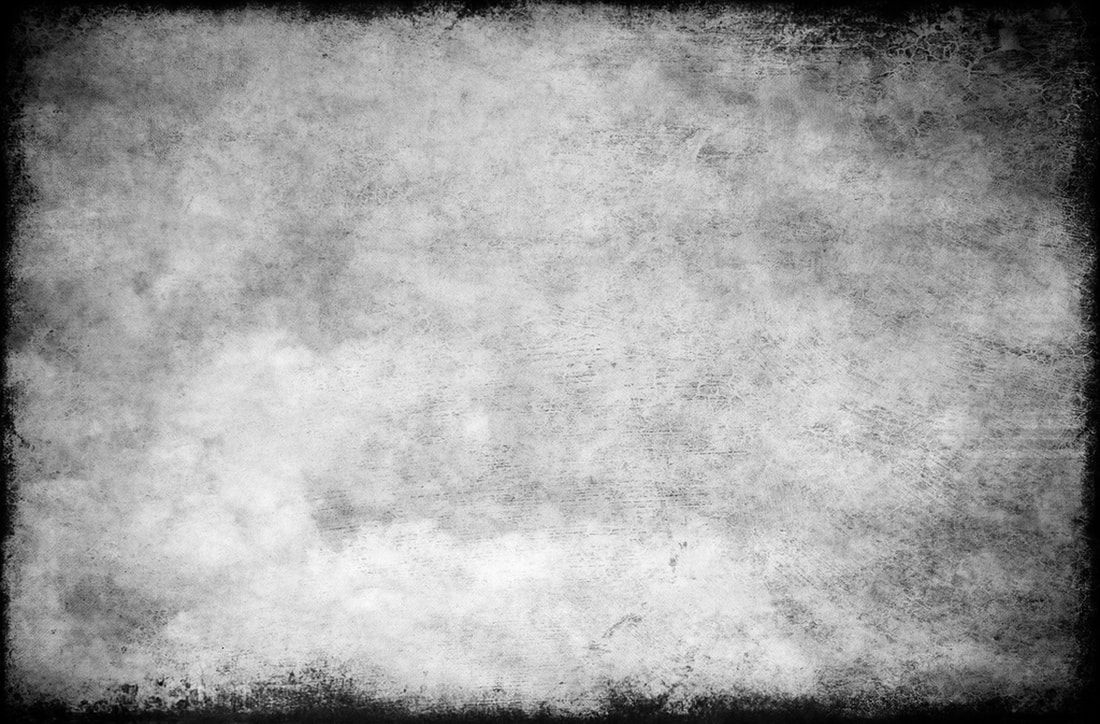
Step 1: Find Images to Use - One base photo and at least 5 textures
(hint, for some effect you may need to find textures that are roughly the same same size and shape as photo)
- when finding your images, try to find images that are greater than 1024 px wide
(hint, for some effect you may need to find textures that are roughly the same same size and shape as photo)
- when finding your images, try to find images that are greater than 1024 px wide
|
|
|
|

|

|
Step 2: Creating your variations
- To make my life easier, I put all of my images in one file as separate layers and saved as a Photoshop or TIFF document.
- Then I simply experimented on each texture layer by turning "off" all the other texture layers (no eye present). I exported or saved each effect.
- Different blending modes
- Different opacities
- Changing layer from color to black and white or desaturated
- For something interesting, I even tried combining the different textures
- For some photos you might want to use masking to limit the effects to part of a photo (for example, not apply paper texture over faces of couple)
Step 3: Publish the results
Part 2: Blending Images - Compositing or Combining
More on this later.
Works best with masking.
Works best with masking.
|
|
|
|
